Kitchen & Dining Room Revival
Blending Style and Functionality in Columbia, SC
Client Vision & Motivation
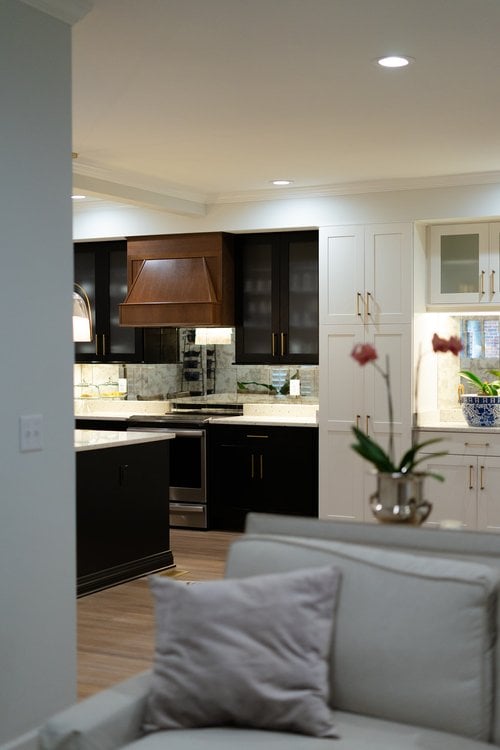
Our clients came to us with a goal of totally updating, and opening up, their kitchen and dining room spaces for a cohesive, up-to-date feel, perfect for entertaining and everyday life.
PROJECT OVERVIEW
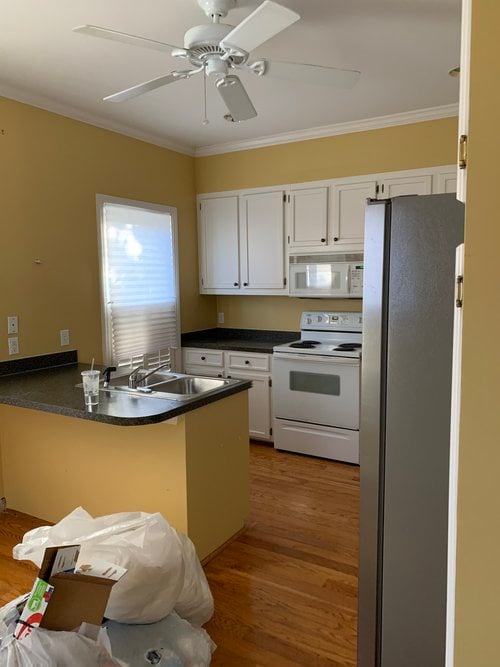
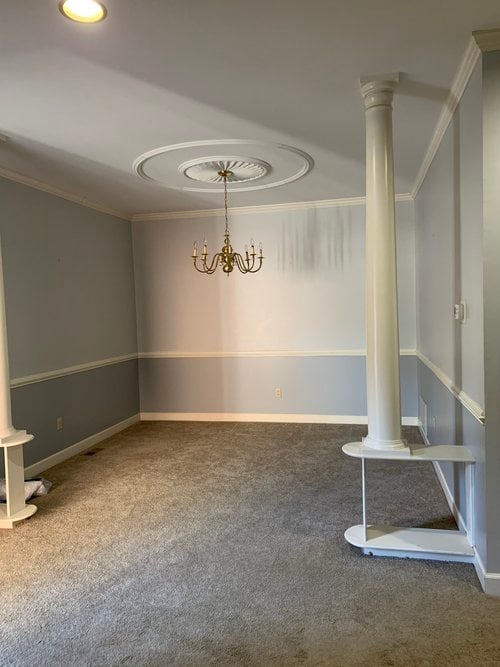
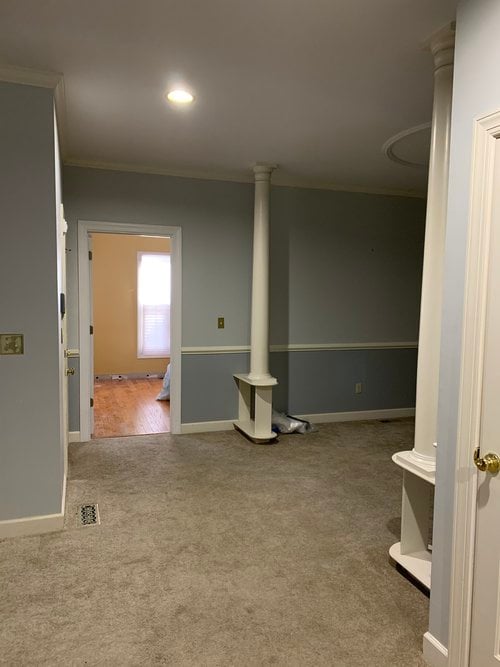
The “construction zone” started as two separate rooms (see above). There was a full kitchen and dining room, separated by a wall. Our team’s mission was to demo everything in the spaces, to include all existing cabinetry, appliances, counters, fixtures, flooring, trim details, etc., AND the wall that separated the kitchen from the dining room. Once everything was removed, we got to work (with many of our skilled Trade Partners) bringing the space back to life per the project’s design, following the structurally required components, and to our clients’ style.
CHALLENGES TO OVERCOME
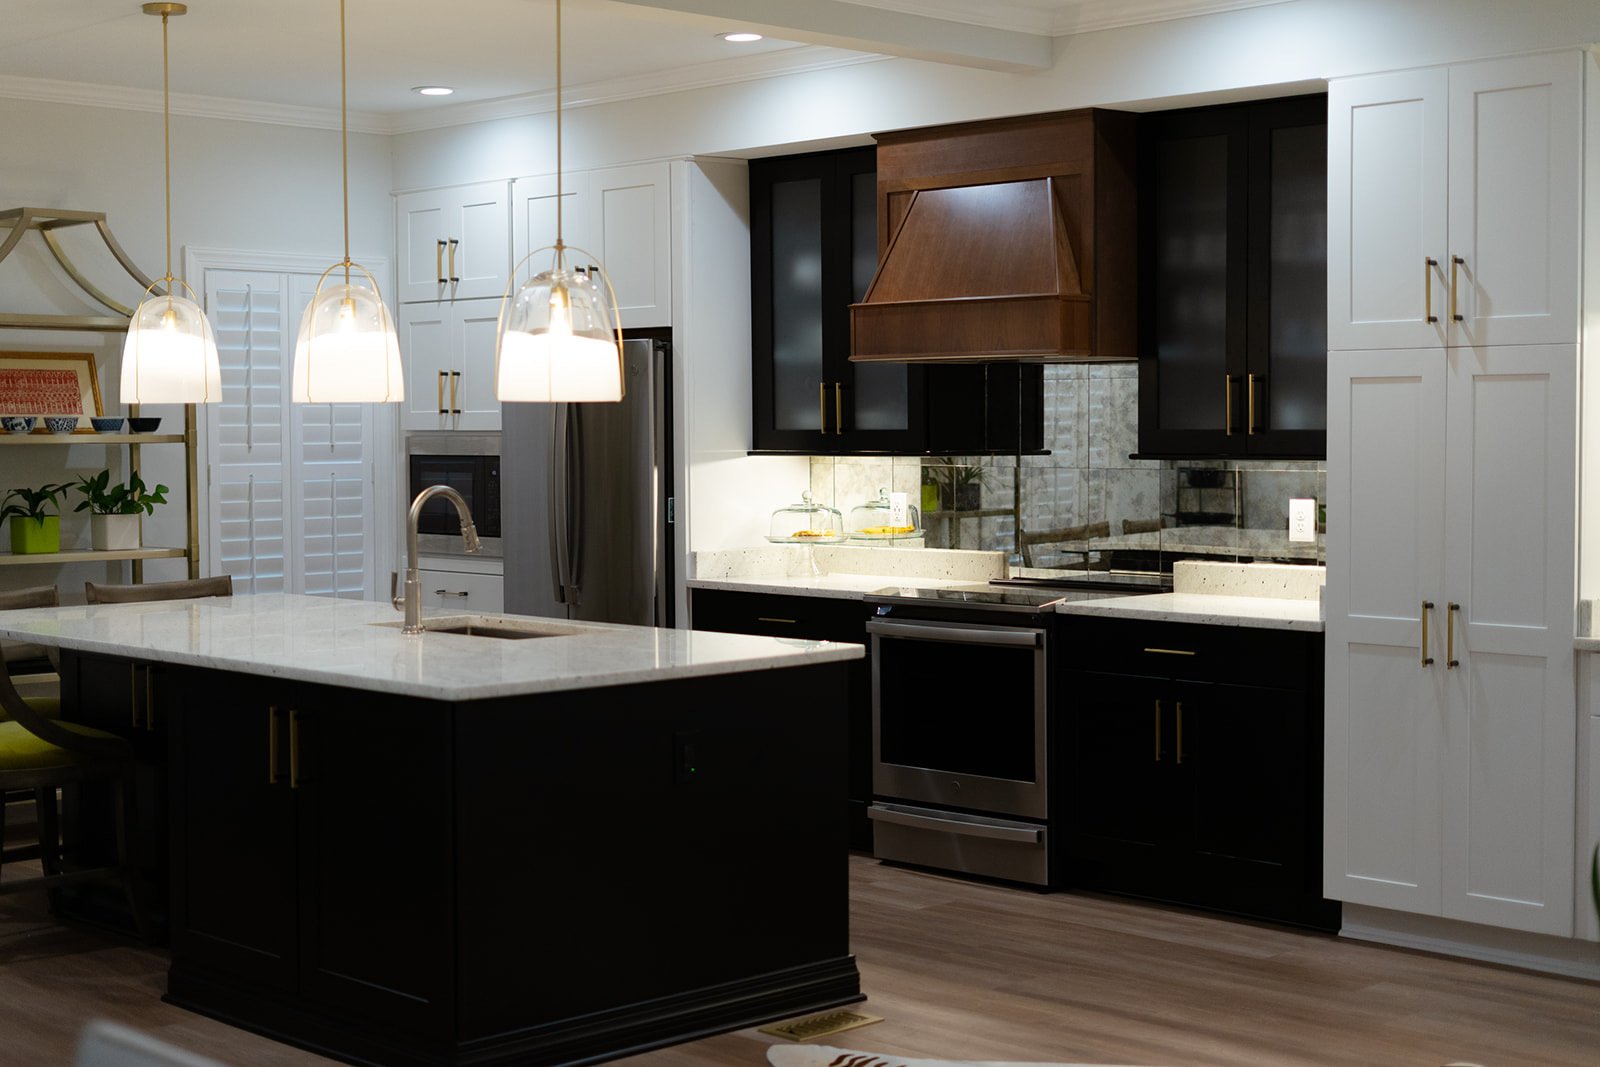
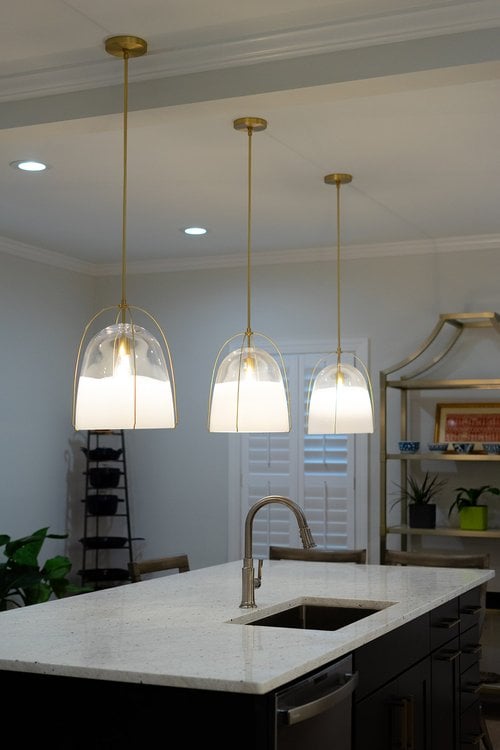
In order to demo the wall separating the kitchen from the dining room, we had to work closely with our engineered wood product (EWP) partners to ensure the space was structurally framed the right way, using the correct lumber materials, and to support the open concept. Our options were to have an exposed beam visible in the ceiling to carry the structural weight previously accounted for by the wall separating the kitchen and dining room, OR to work with the home’s second story floor framing system to install a “flush” beam that would not be visible in the new open space. In our experience, it can be more expensive to go with a flush (non-visible) structural beam than to go the exposed beam route. After reviewing both options with our clients, we determined the best route for multiple reasons was to have an exposed beam (which you will see between the kitchen island pendants), painted so that it blends in with the ceiling as much as possible. We like how it gives the space a little texture!
Location
Project Goals
- Modernize and Open Up Spaces
- Upgrade Fixtures and Appliances
- Enhance Dining Experience
Project Description
PRE-CONSTRUCTION PARTNERS
Your Ultimate Home Remodeling Cost Guide
This comprehensive cost guide breaks down common homeowner scenarios and provides solutions and average costs for homeowners, such as:
- Detailed Cost Breakdowns: Understand the potential costs for different types of remodeling projects.
- Budgeting Tips: Learn how to allocate your funds wisely to maximize the impact of your remodel.
- Customization Options: Explore cost variations based on materials, designs, and labor.
BEFORE PHOTOS
COMPLETED PROJECT PHOTOS
COMPLETED SPACE HIGHLIGHTS
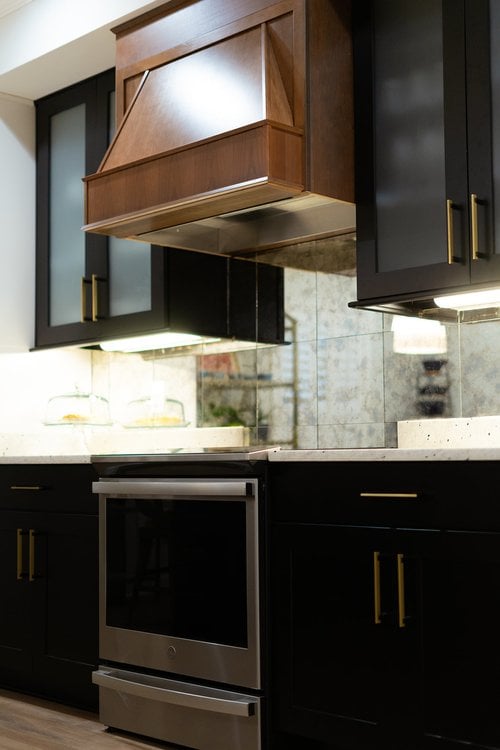
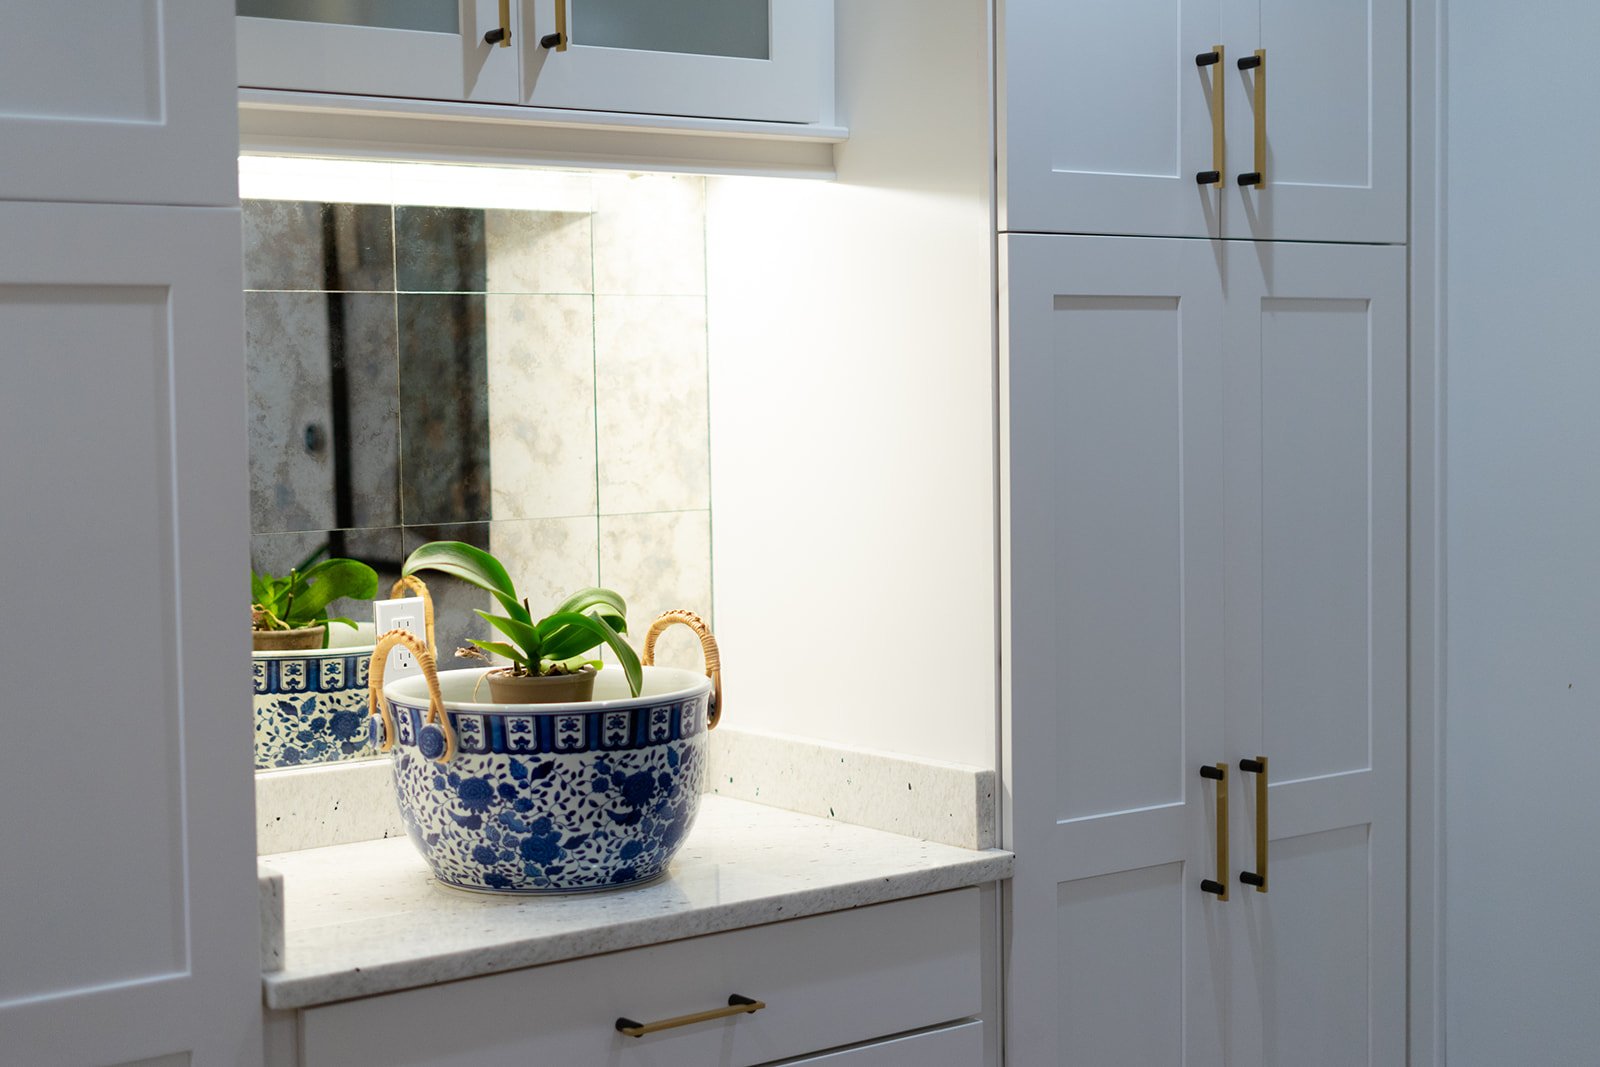
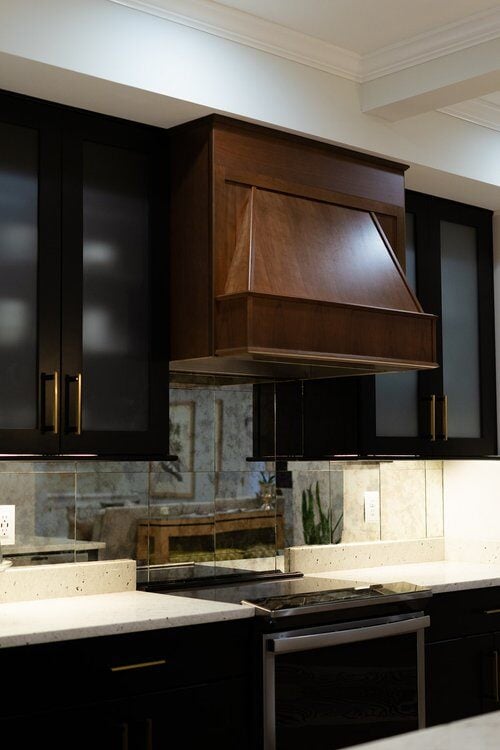
- Mirror tile backsplash
- Oversized island with overhang for seating
- Speckled granite countertops
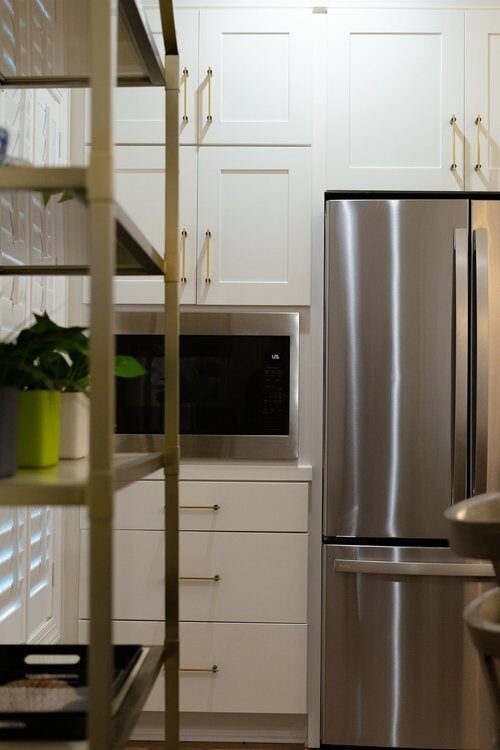
- Full wall cabinetry for maximized storage and functional use
- Two-tone cabinetry
- Textured glass cabinets surrounding maple wood hood cover
- Purposefully chosen light fixtures, plumbing fixtures, and cabinetry hardware
OUR TEAM’S FAVORITE PART
We love how the overall aesthetic of the space came together. Two details we will always remember about this project is 1- the full back wall of cabinetry (so much functional storage and the aesthetic is stunning) and 2- the mirror tile backsplash. We had never installed mirror tiles before this project. The tile was going to be discontinued, so there was a finite number of tiles, which left room for little mistakes (cue the song “Under Pressure”). Needless to say, it was a fun learning experience and turned out great after some trial and error - mirror tiles are not the same as ceramic tiles and require specific installation technique.
FUN FACT
We learned how much choice overload you have when trying to choose white for your wall color. There are SO MANY options, all bringing their own color hues. Our clients looked at many, many different whites (through swatches and ordering samples to paint on the unfinished walls) and eventually settled on the color you see on the walls below. We hear time and time again from Design Partners that white is the most challenging color to choose, and this project was certainly a testament to that. We think they made an awesome choice in the end.



Feeling inspired?
Get in touch.
Take the first step today by reaching out to our expert team. Fill out our contact form for a detailed discussion about your specific project needs and to receive a tailored estimate. Let’s make your dream space a reality!
Ready to Transform Your Home?
Start Your Remodeling Journey With Bald Cypress
//Contact us today and take the first step towards making your vision a reality. Our team is ready to guide you through every phase of your project with expert advice and unparalleled craftsmanship.
